
DECK RESTORATION DONE RIGHTDECK RESTORATION DONE RIGHT
Restore Your Deck Without Endless Sanding and GuessworkRestore Your Deck Without Endless Sanding and Guesswork
Tell us your deck condition, deck size and preferred finish. We’ll recommend the right preparation and protection system for your project.Tell us your deck condition, deck size and preferred finish. We’ll recommend the right preparation and protection system for your project.
Choose Your Deck Condition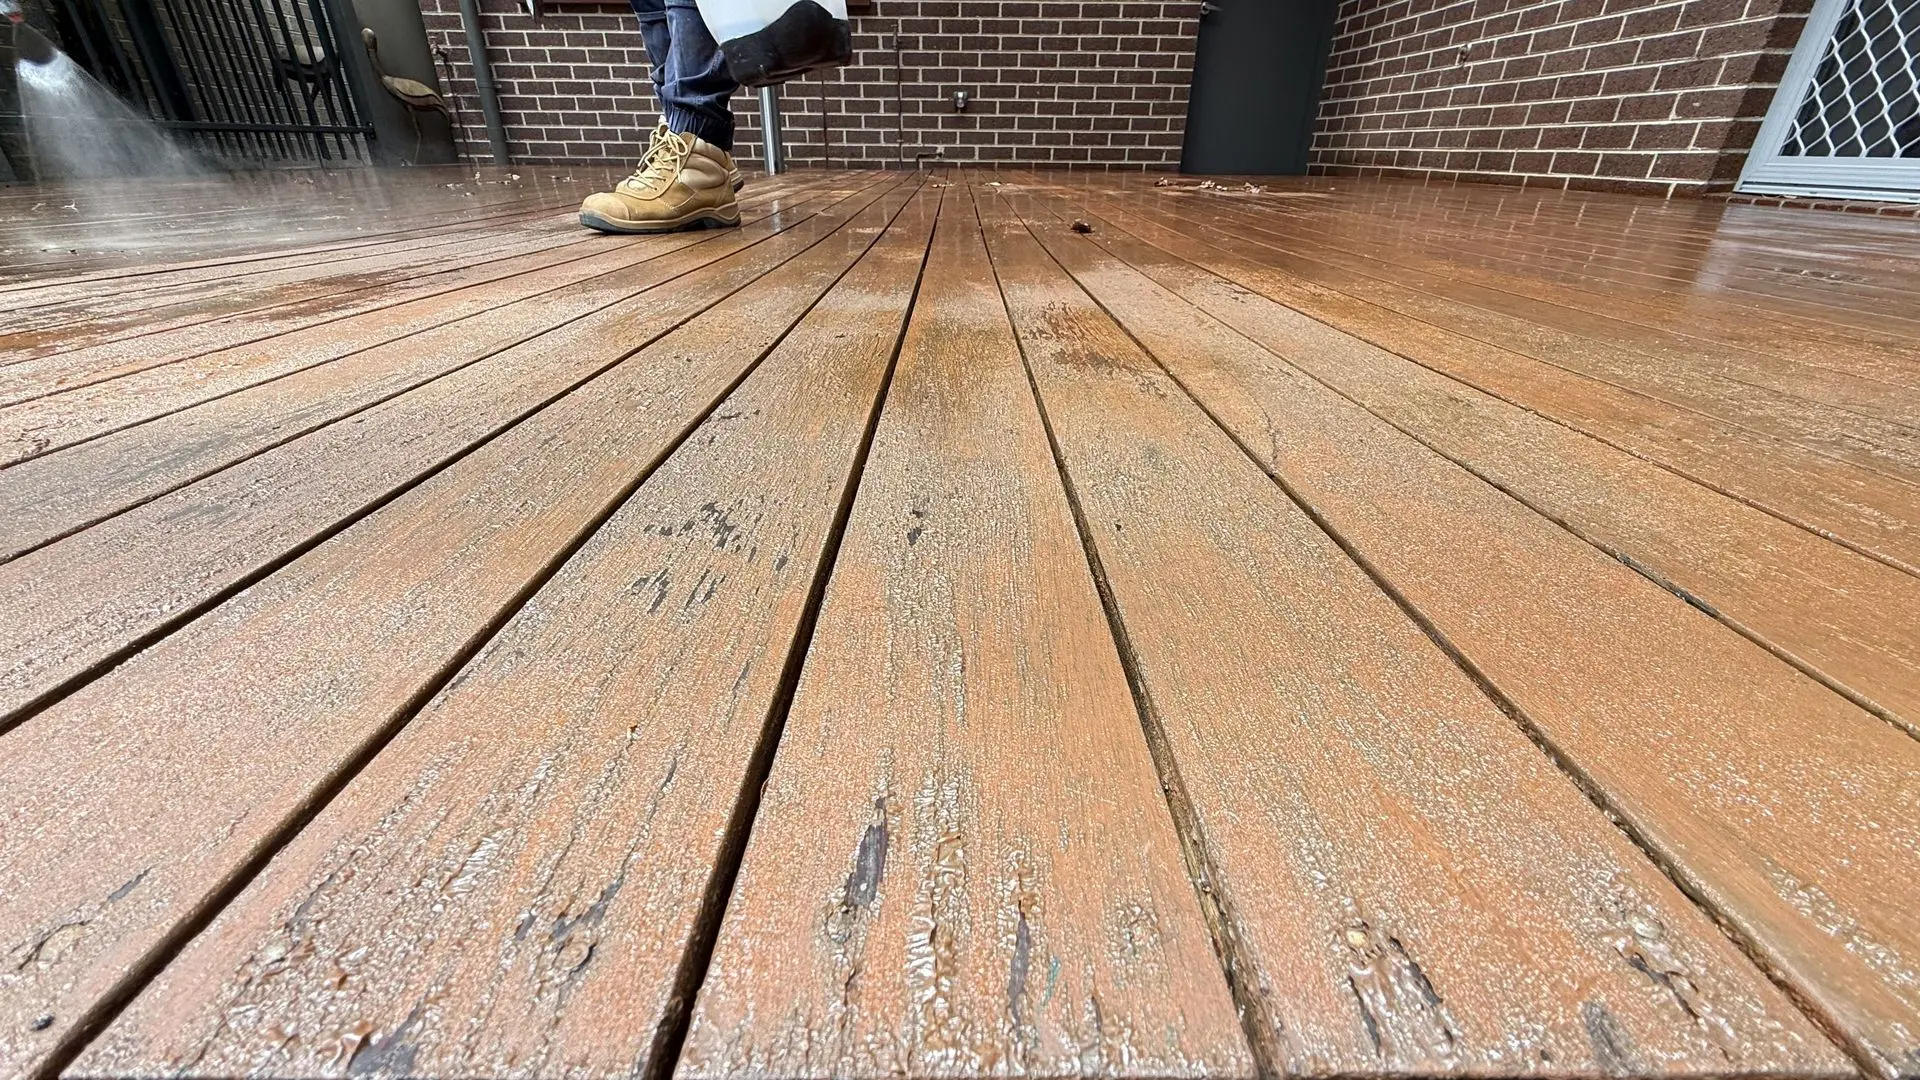
STEP 1
Not Sure What Your Deck Needs? Let’s Work It Out.
Pick the photo that best matches your deck’s condition today. We’ll guide you to the right preparation and finish system for your deck.

STEP 2
Choose Your Deck Size
Choose the option that best matches your project. If you are unsure, calculate the area below.
Total: 0 m²
YOUR RECOMMENDED PREPARATION
Start With the Right Prep Kit
Based on your deck condition and size, this is the preparation kit you need first.
YOUR PREPARATION
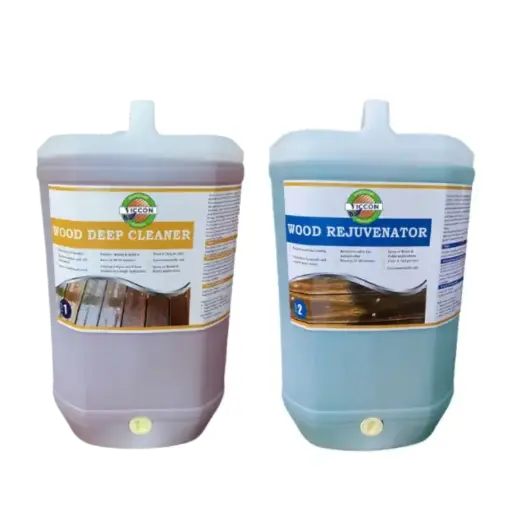
Deep Clean + Rejuvenate Deck Kit (60–90 m²)
Deep cleans bare or weathered timber, restores the surface and prepares it for the selected finish.
- Wood Deep Cleaner
- Wood Rejuvenator
- Preparation instructions
- Quantity guidance
Selected size: up to 60 m²
View Preparation Kit OnlyWANT THE COMPLETE SYSTEM?
Would You Like Prep + Finish Products?
Choose a complete kit if you also want the finishing products matched to your deck.
CHOOSE YOUR FINISH
What Finished Look Do You Prefer?
Choose the look and maintenance style that suits your deck.
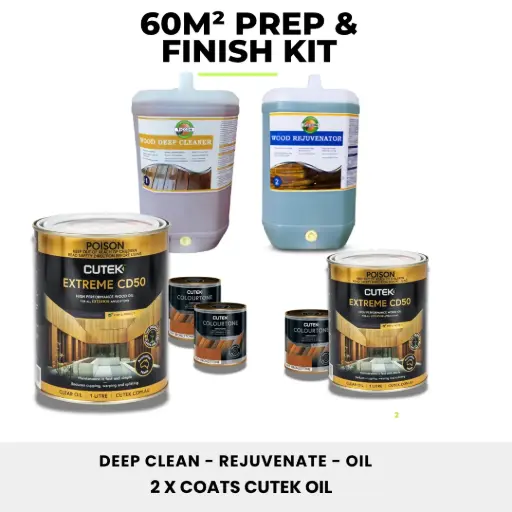
Natural Matte Oil
Natural timber appearance with a penetrating oil finish.
CUTEK CD50 Extreme
View Natural Matte Kit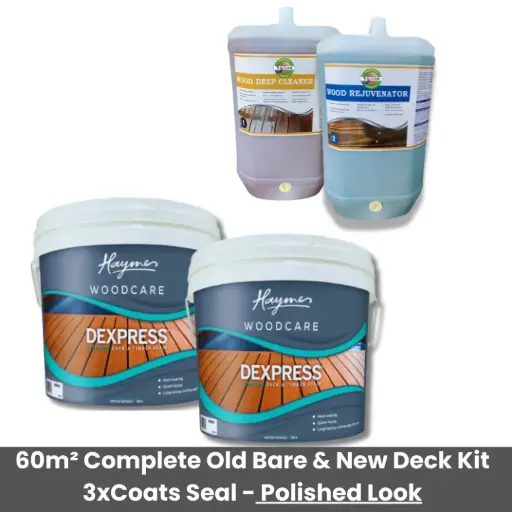
Film-Forming Finish
Richer colour with a visible protective coating.
Haymes Dexpress
View Film Finish Kit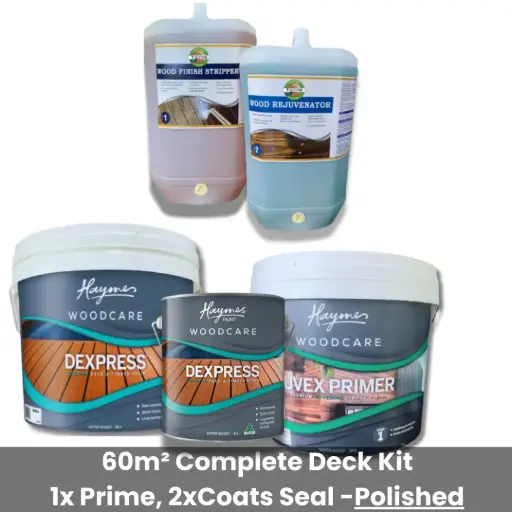
Primer + Film Finish
Premium coated appearance with a stronger foundation.
Haymes UVEX + Dexpress
View Premium System KitA SMARTER WAY TO RESTORE
Stop Spending Weeks Sanding, Guessing and Hoping for a Good Result
Many DIY deck restorations become an endless process because people rely on heavy mechanical sanding, punch down every nail, use only a light clean or combine products without knowing whether they work together.
That can mean several weekends of hard work, unnecessary timber removal and constant worry that the finished deck will not come up the way you expected.
WHY THE OLD WAY OFTEN GOES WRONG
Can remove healthy timber and still struggle to clear old coating from board gaps, edges and detailed areas.
Adds hours of labour and can create visible holes, loosen fixings or damage older boards unnecessarily.
May improve the appearance but can leave failed coating, contamination and residue behind the new finish.
Projects stretch across multiple weekends while you change methods and worry whether the final result will look right.
THE SEALIX DIFFERENCE
A Proven Process That Removes the Guesswork
- Products matched to your deck condition and desired finish
- Chemical preparation before aggressive sanding
- Step-by-step instructions from preparation to protection
- Light sanding only where genuinely required
- Technical support before and during the project
- Protect the surrounding surfaces
- Apply the recommended stripper or deep cleaner
- Allow the correct dwell time
- Pressure wash with the timber grain
- Apply Wood Rejuvenator
- Rinse thoroughly and leave the timber to dry
- Confirm the timber is fully dry
- Lightly sand raised fibres or remaining residue
- Remove sanding dust
- Apply the selected oil or coating system
- Follow the required drying and recoating times
WHY SEALIX?
General Hardware Store VS Sealix
Anyone can sell you deck products. The real difference is whether someone can help you choose the right system for your deck and support you through the job.
Products First
You choose from what is available on the shelf.
Project First
Every recommendation starts with your deck, not the products.

WHY SEALIX EXISTS
Built to Help People Avoid the Costly Mistakes We Regularly See on Job Sites
Through Viccon Coatings, I kept seeing timber finishes fail for the same reasons.
Sometimes maintenance had been left too long. But often the bigger problem was the wrong preparation product, the wrong finish, incompatible products—or a combination of all three.
The result was peeling coatings, uneven colour, unnecessary heavy sanding and expensive restoration work that could often have been avoided with the right advice from the beginning.
That is why I created Sealix.
Sealix exists to help homeowners and contractors understand what to use, when to use it and why, so they can restore and maintain timber with more confidence and fewer costly mistakes.
We do not just offer products. We share the systems, lessons and practical knowledge gained from restoring real decks in real aussie conditions.
REAL SEALIX PROJECT
See What Correct Preparation Reveals
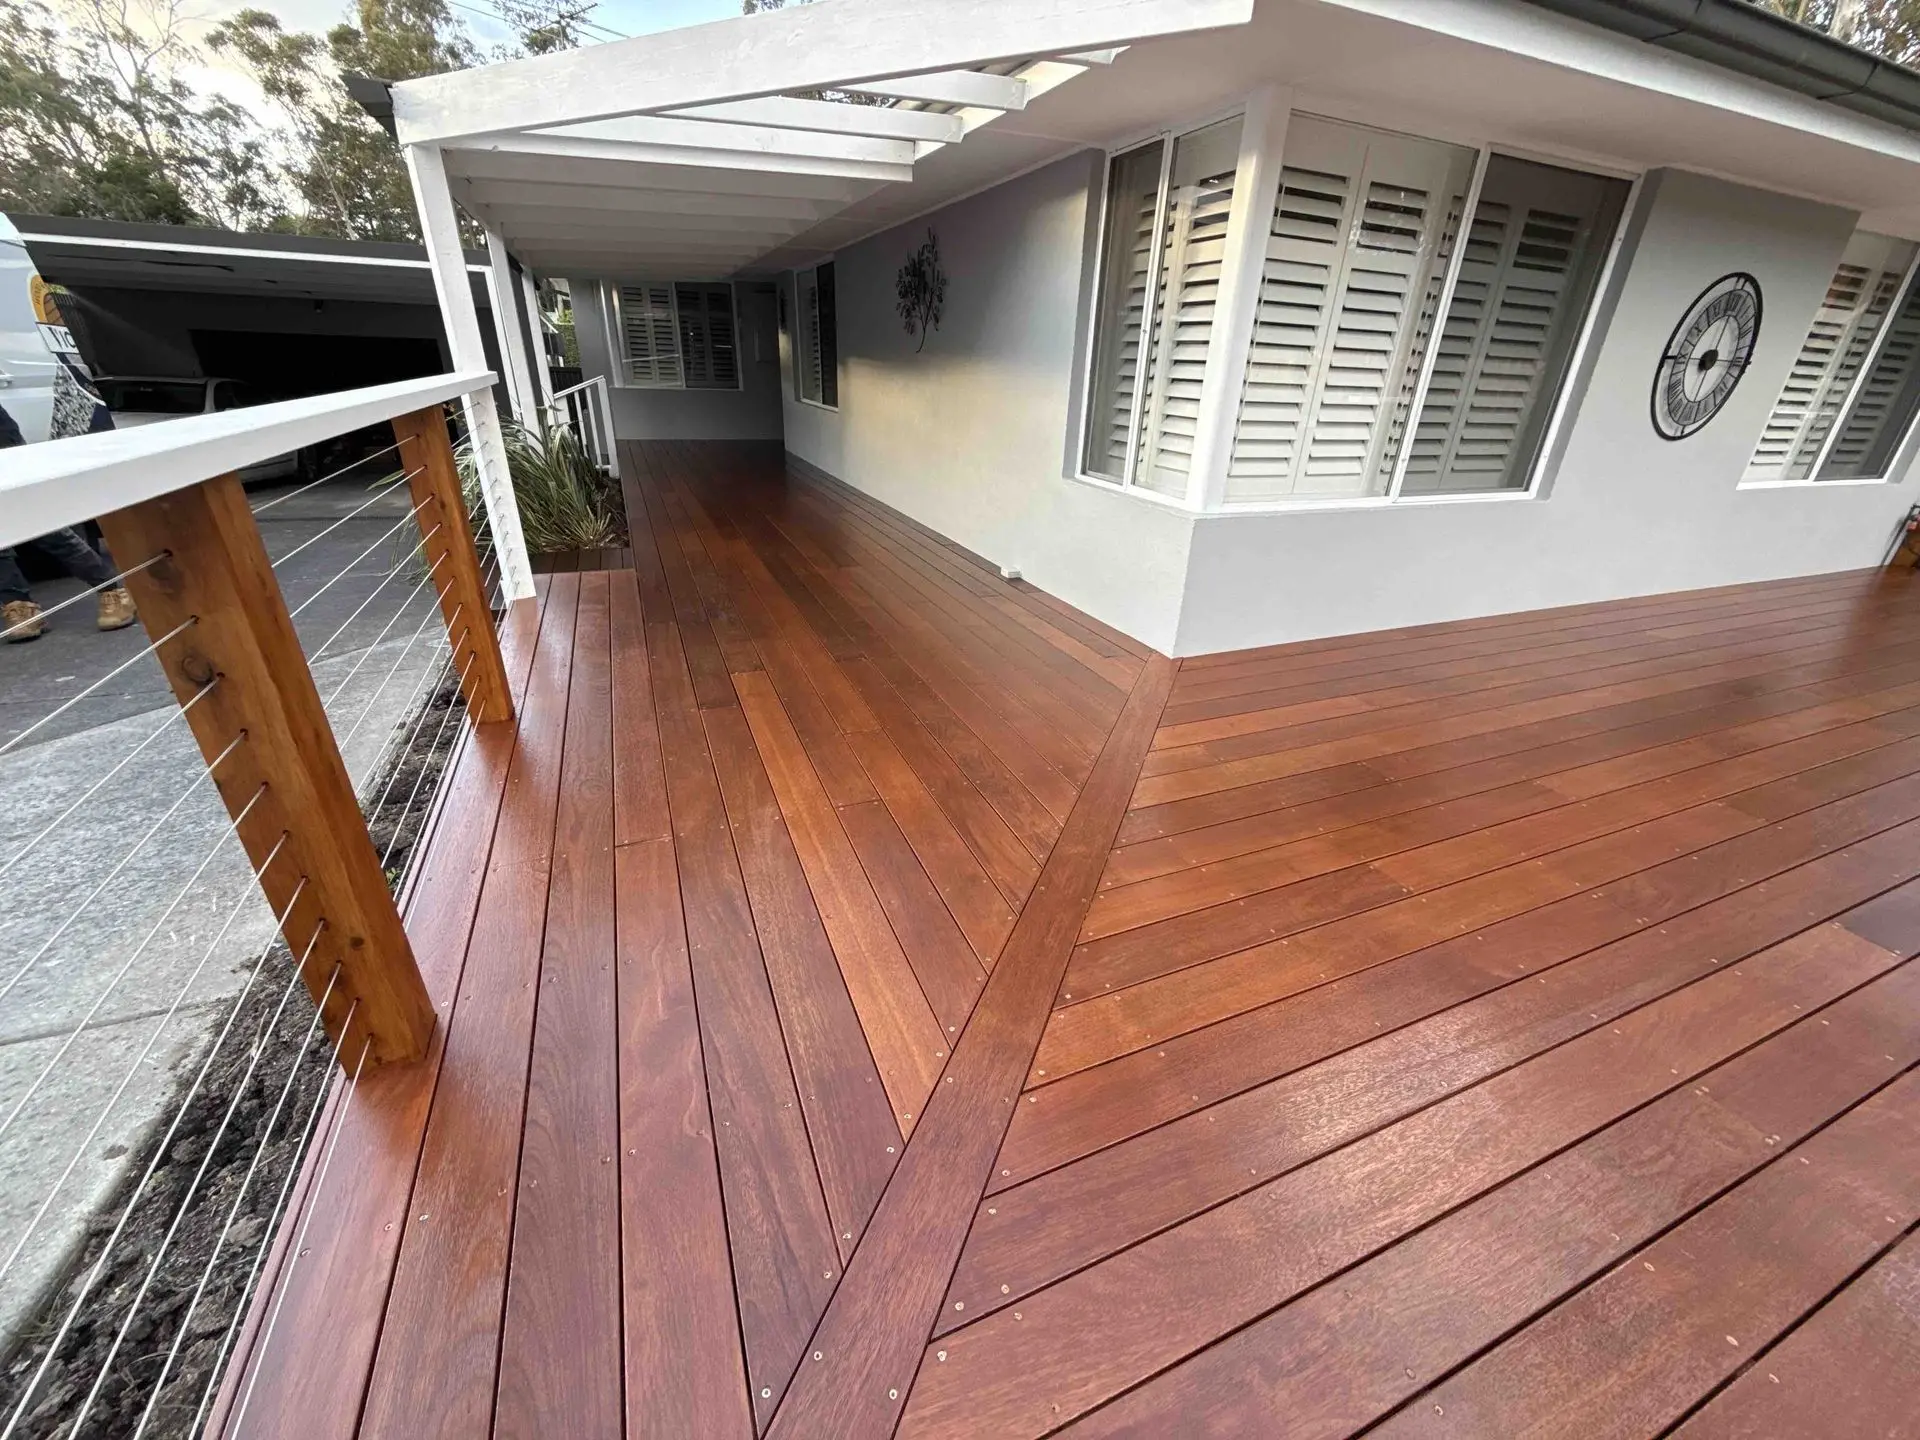
The correct process removes failed coatings, restores the timber and creates a clean, even surface ready for protection.
A timely maintenance clean and recoat is easier and less expensive than waiting for full coating failure.
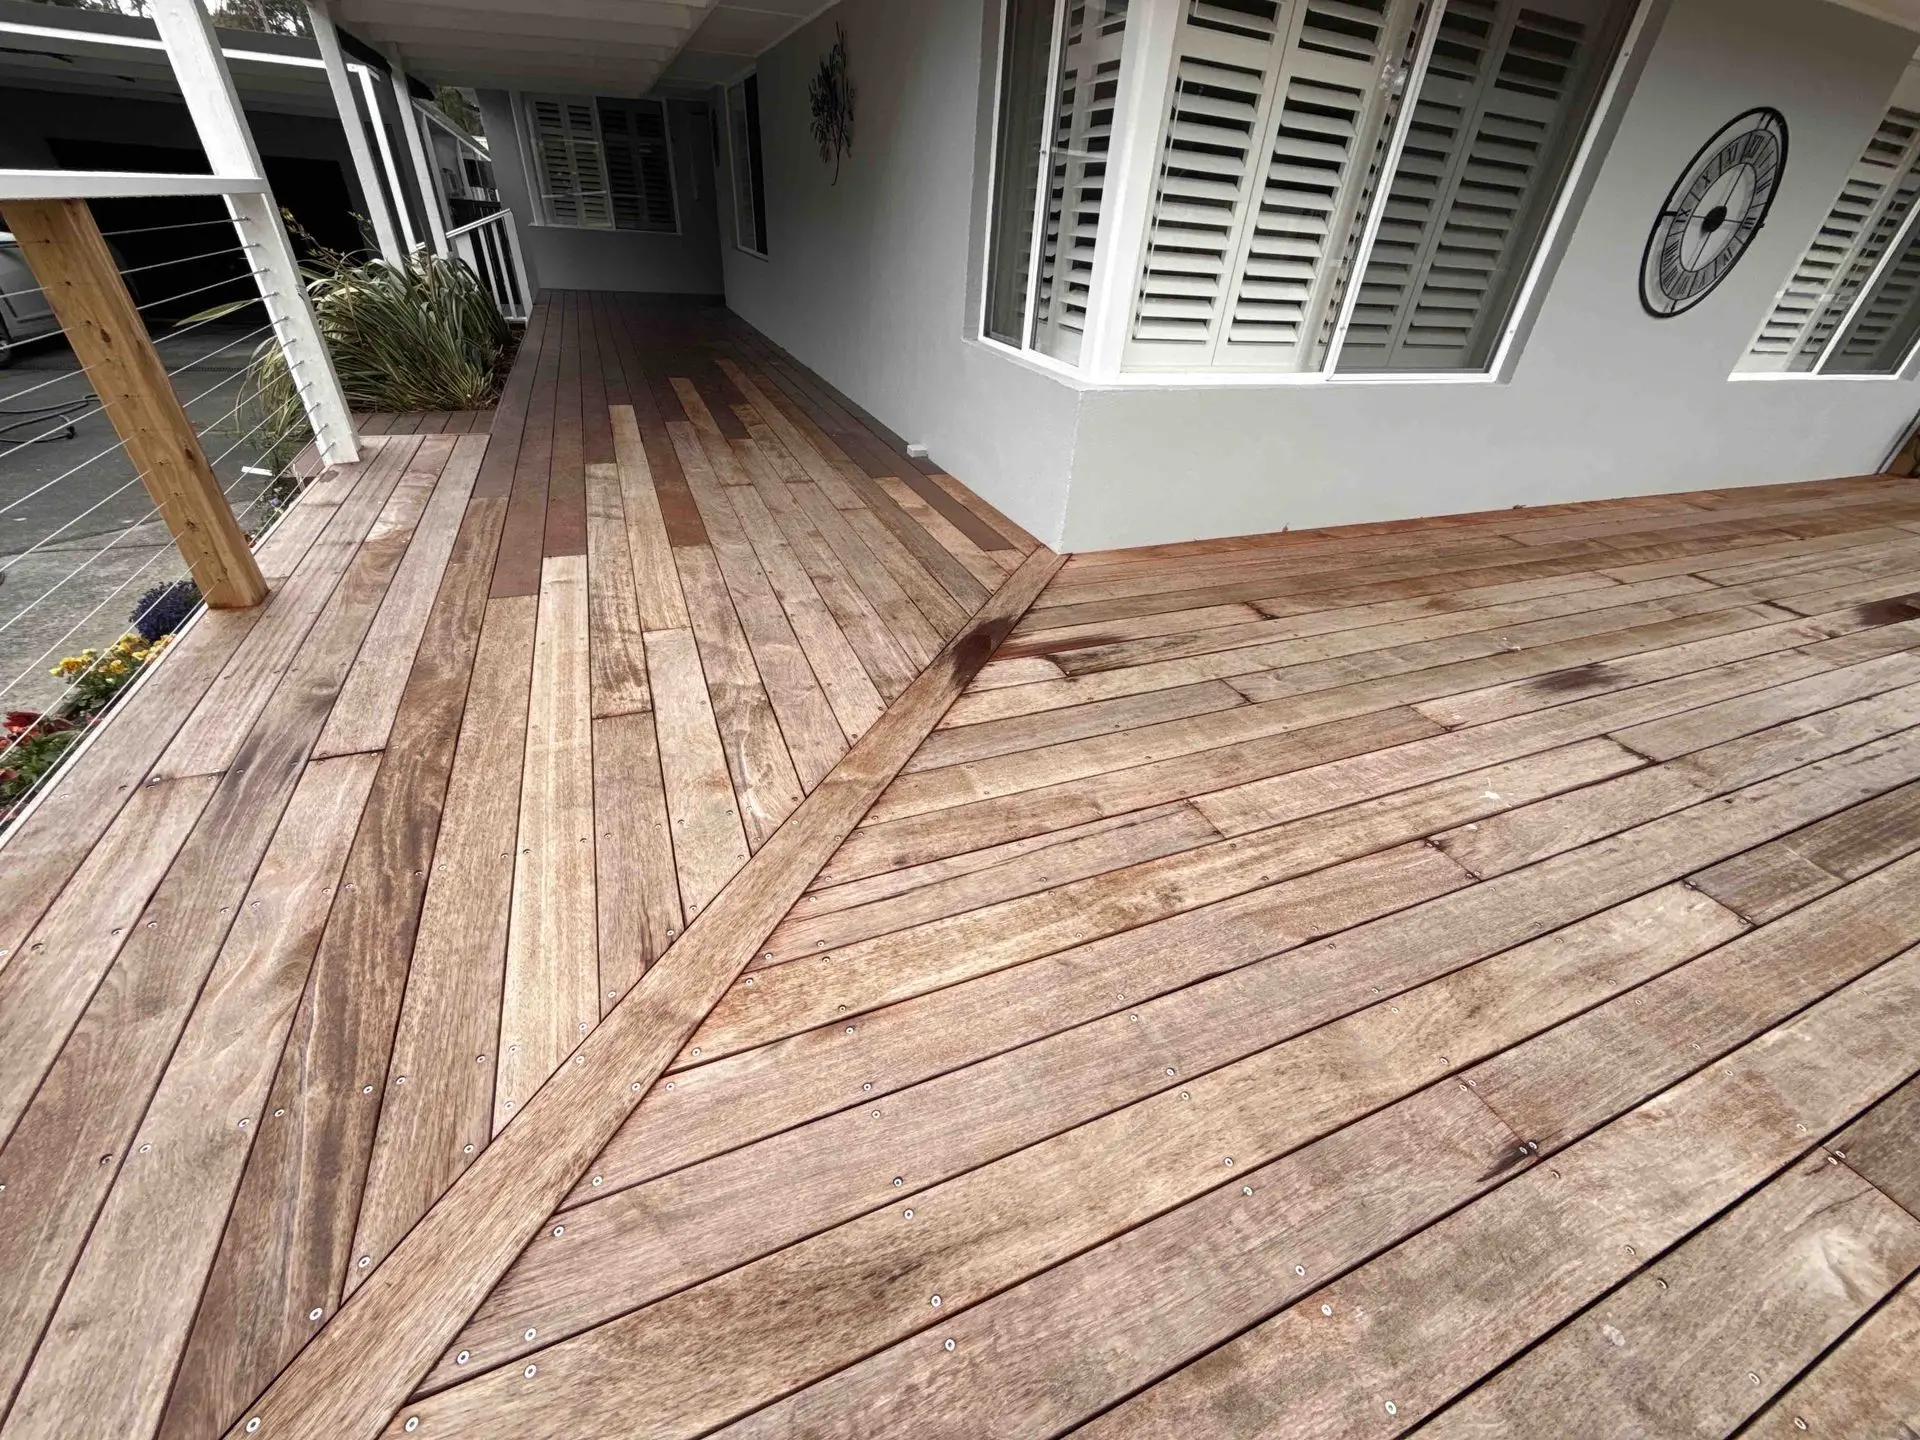 Before
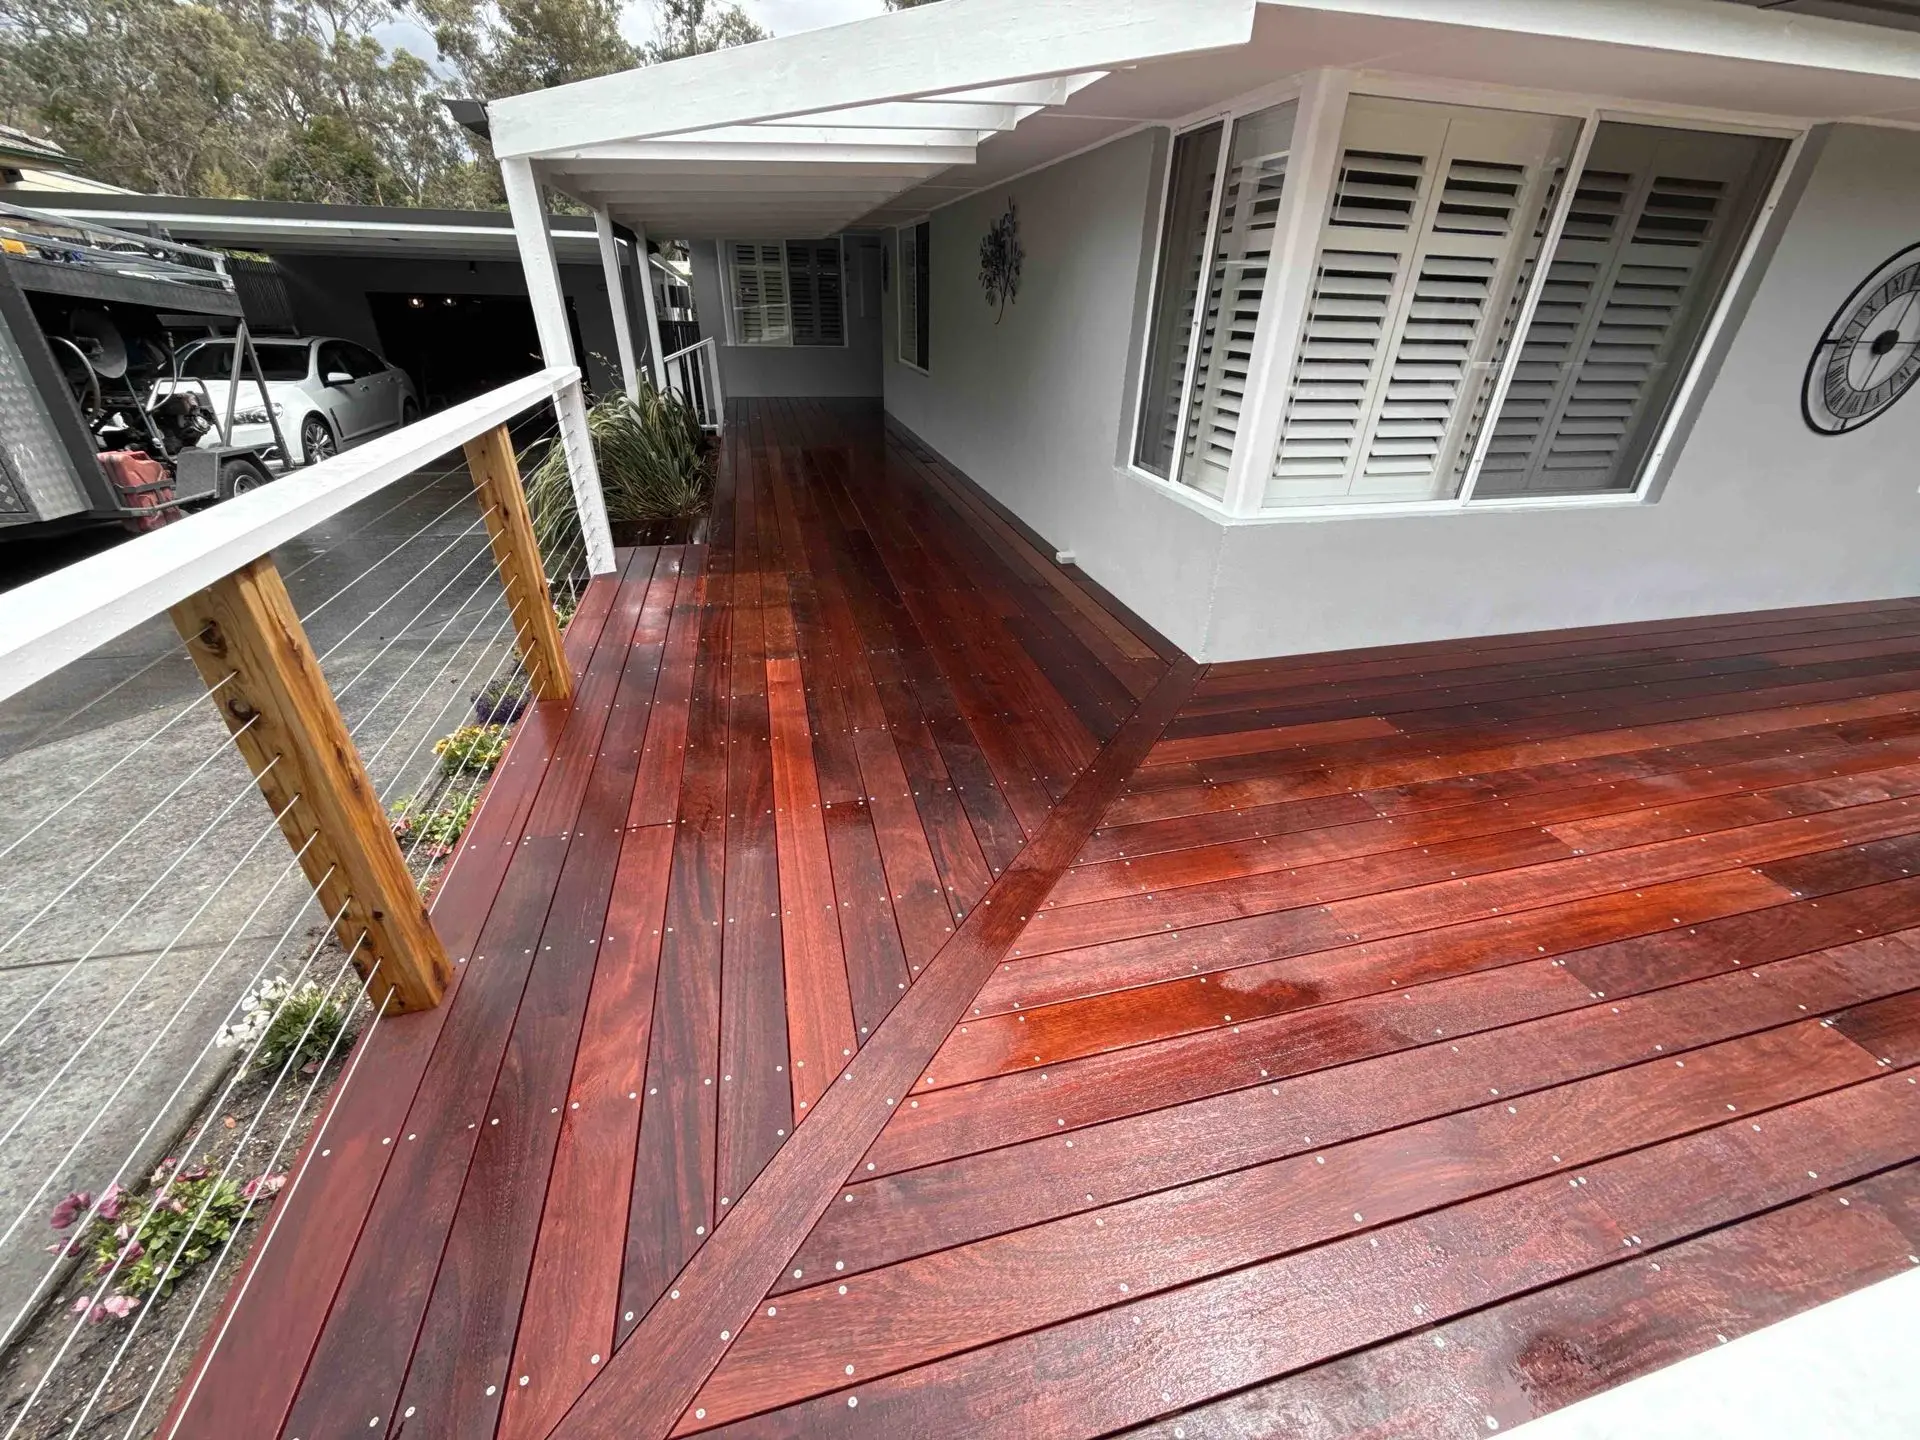 Strip and restore
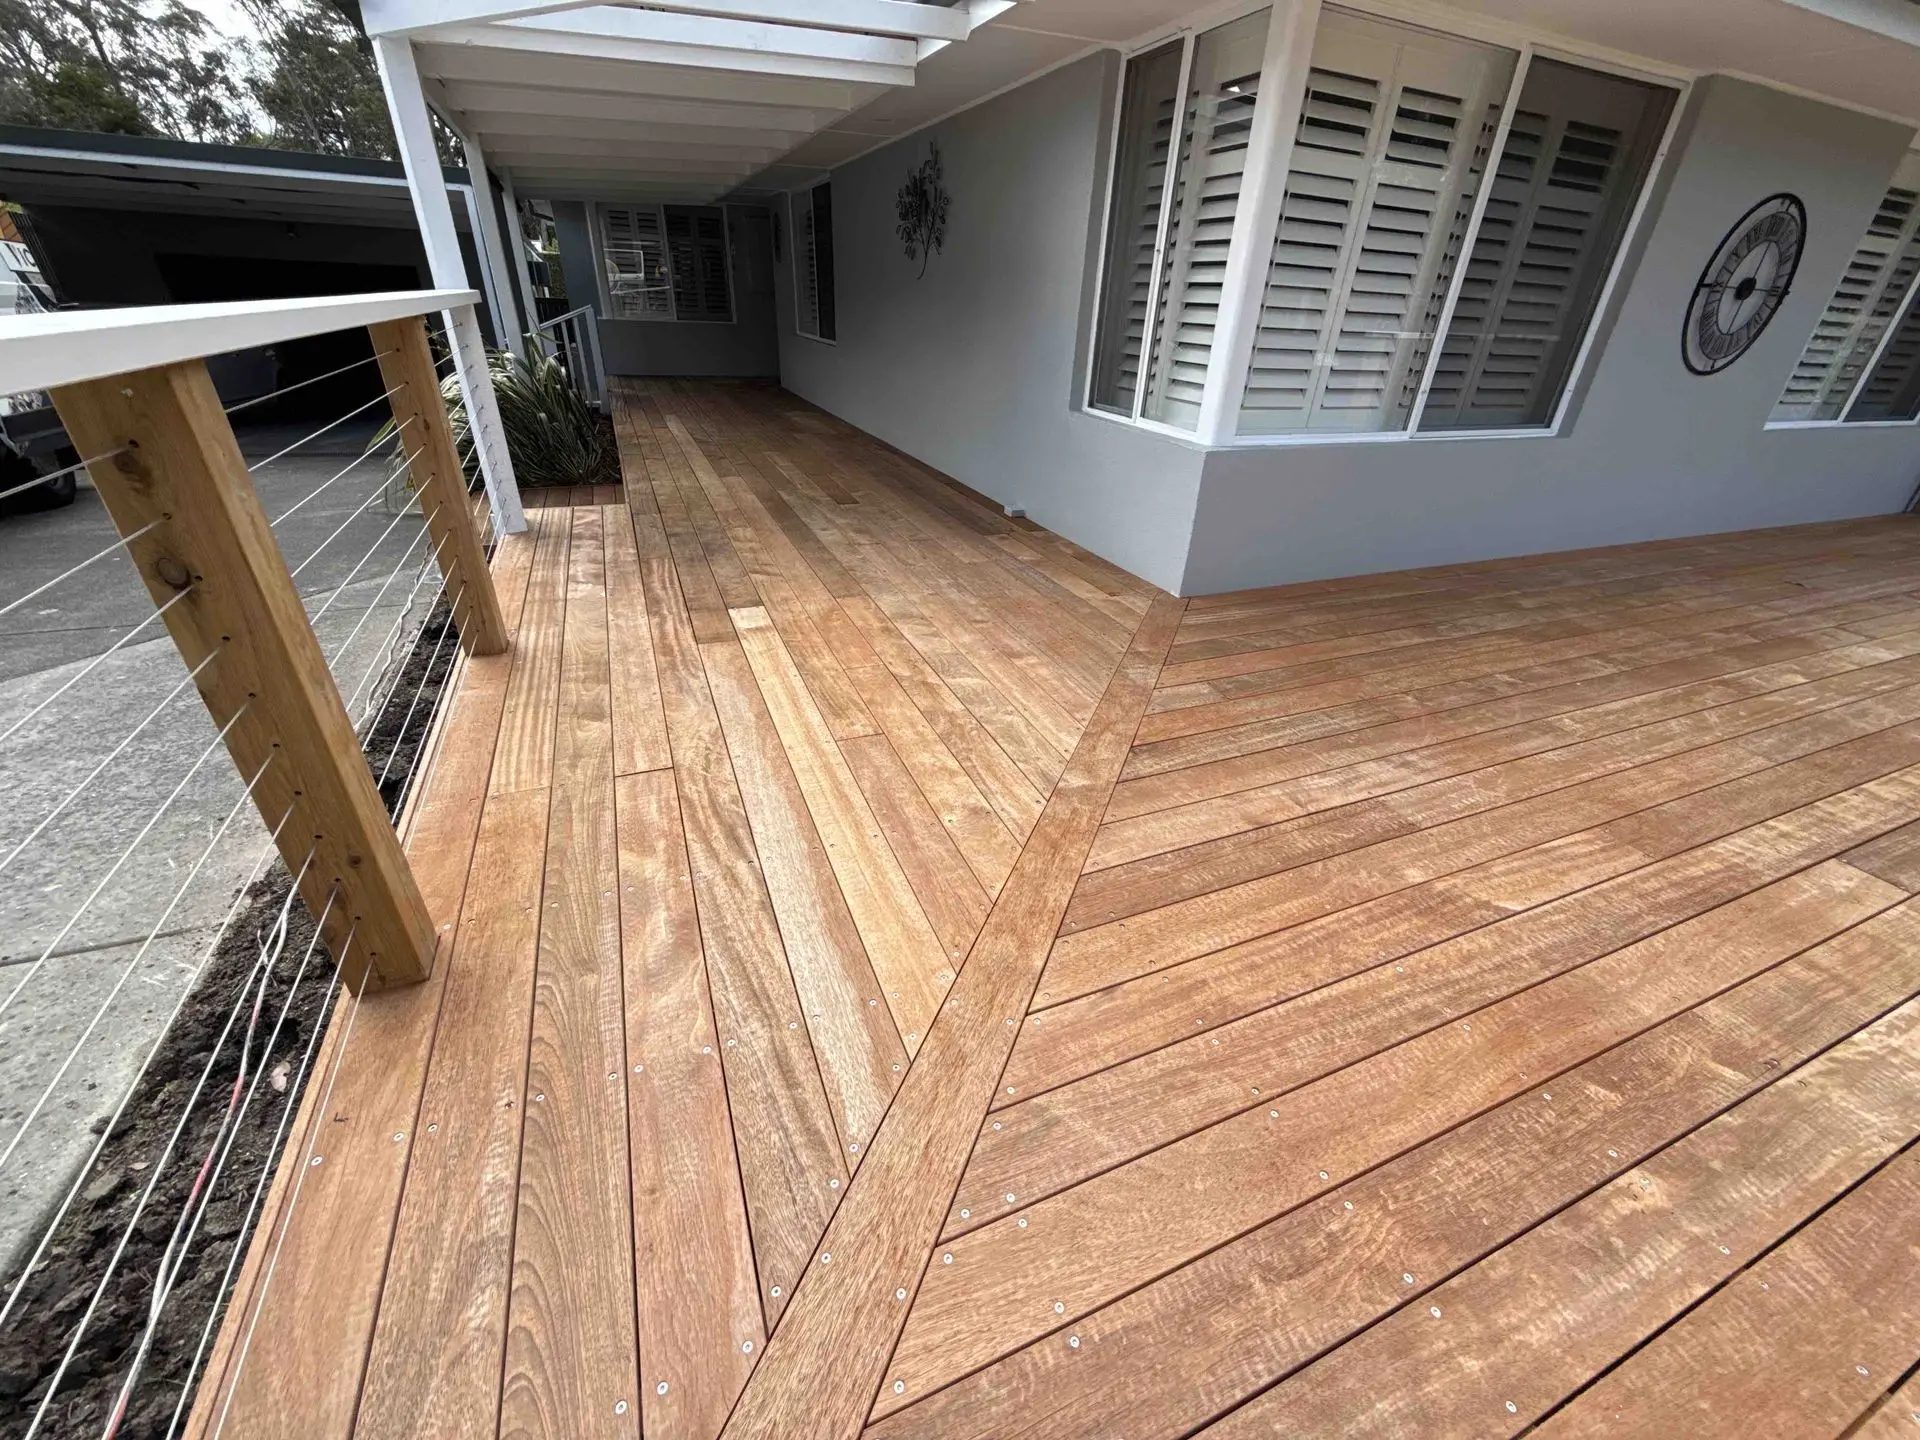 Prepare and sand
 Seal and protect
WHY PREPARATION MATTERS
The Finish Is Only as Good as the Surface Underneath
Most deck coating problems begin before the oil or sealer is applied. Old coating, grey timber fibres, tannins, dirt, moisture or chemical residue can stop the new finish from penetrating or bonding correctly.
Match the preparation method to the existing surface.
Restore the timber and remove chemical residue and tannin staining.
Smooth raised fibres and only finish once the timber is fully dry.
Choose a penetrating oil or coated finish based on the look and maintenance you want.
CHOOSE THE RIGHT PREPARATION
Strip or Deep Clean?
The correct choice depends on what is already on the timber.
Deep Clean + Rejuvenate
Choose this when the timber is bare, grey, weathered, newly installed, dirty, tannin-stained or previously treated with a penetrating oil with no substantial film remaining.
What it does
- Removes dirt, tannins, mould and organic build-up
- Restores weathered timber
- Brightens and prepares the surface
- Creates a clean base for oil or coating
Strip + Rejuvenate
Choose this when old oil, stain, sealer or coating remains, especially where the surface is patchy, peeling, sticky or heavily built up.
What it does
- Softens and removes failed finishes
- Resets the timber to a clean surface
- Neutralises stripping residue
- Prepares the deck for a compatible new finish
CHOOSE YOUR FINISH
Penetrating Oil or Coated Finish?
There is no single finish that is best for every deck. The right choice depends on the appearance you want and how you prefer to maintain it.
Penetrating Oil
Best for those who want a natural timber appearance with simple long-term maintenance.
- Low-build, natural appearance
- Highlights the timber grain
- Generally will not peel like a surface film
- Easier to refresh when maintained on time
Film-Forming Finish
Best for those who want a richer colour with a protective surface coating.
- Stronger colour enhancement
- More uniform appearance
- Visible protective film
- Good colour retention when maintained correctly
Primer + Film Finish
Best for those who want the highest level of protection and a premium, uniform finish.
- Primer improves adhesion
- Better foundation for the finish
- More consistent colour development
- Suitable for demanding hardwood applications
| Feature | Penetrating Oil | Film Finish | Primer + Film |
|---|---|---|---|
| Appearance | Natural, Matte | Polished, Wet Look | Polished, Wet Look |
| Film on surface | No | Yes | Yes |
| Colour retention | Moderate | Stronger | Strongest |
| Future maintenance | 8-12 Months | 12 Months | 12-24 Months |
| Best for | Natural look | Richer colour | Premium coated result |
No finish is maintenance-free. The best-performing system is the one applied over correctly prepared timber and maintained before full breakdown.
YOUR RESTORATION JOURNEY
From Choosing the Right Kitto Enjoying Your Finished Deck
No matter which kit you choose, every successful restoration follows the same proven process. Complete each stage in order to achieve the best appearance, maximum coating performance and longer-lasting protection.
Match the preparation and finish system to your deck condition and desired result.
Strip or deep clean, then rejuvenate and rinse the surface thoroughly.
Let the timber dry fully before sanding or applying any finish.
Use the selected penetrating oil or coated finish according to the instructions.
Clean and recoat on time to make future maintenance easier and avoid full restoration.
TYPICAL PROJECT FLOW
Preparation Day
- Protect surrounding surfaces and prepare PPE
- Apply stripper or deep cleaner in manageable sections
- Pressure wash thoroughly and rinse away residue
- Apply rejuvenator and complete the final rinse
- Leave the timber to dry fully before finishing
Drying time depends on weather, shade, airflow and timber density. Do not assume every project can be completed in one weekend.
Next Day or When Dry
Finishing Day
- Confirm the timber is fully dry
- Lightly sand raised fibres as required
- Remove sanding dust and check the weather
- Apply the chosen finish at the recommended coverage
- Allow the required drying time before use
Always follow the instructions supplied with the exact preparation and finish products in your kit.
WHY BUY THE COMPLETE KIT?
One Matched System From Preparation to Finish
A complete Sealix kit removes the uncertainty around combining incompatible products or purchasing the wrong quantities.
Need Help?
Send us the deck size, photos and the finish you prefer. We will help calculate the products and quantities required.
Get a Custom Recommendation
FREE PHOTO ASSESSMENT
Need Help?
Send us a few clear photos and your approximate deck size. A Sealix specialist will help confirm whether you need the Deep Clean or Strip system before you buy.
FREQUENTLY ASKED QUESTIONS
Deck Restoration Questions
Clear answers before you choose, prepare and apply your products.
STILL UNSURE?
Send Us Photos and Your Deck Size
A Sealix specialist can help confirm whether you need Deep Clean or Strip, recommend the most suitable finish and calculate custom quantities.