Wrong Preparation
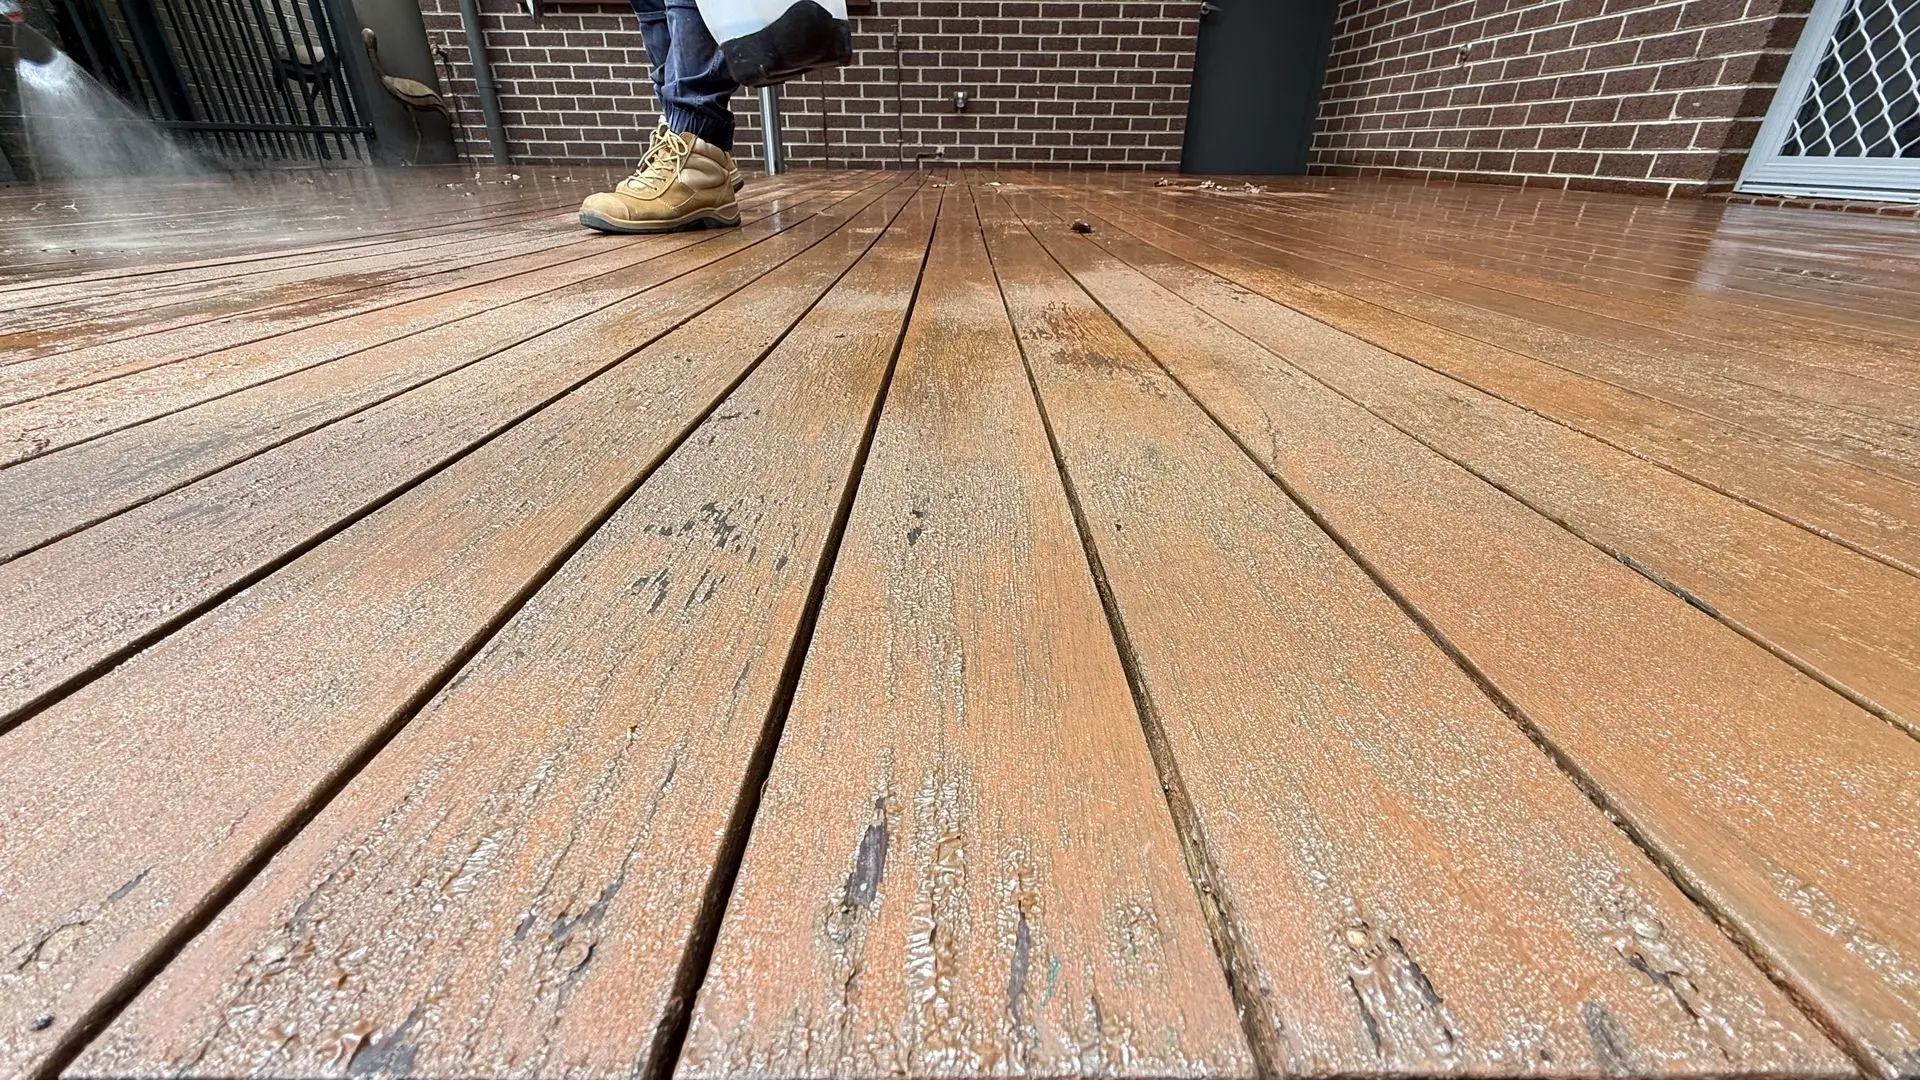
A cleaner cannot remove an old oil, stain, sealer or coating. Residue left behind prevents the new finish bonding evenly.
SEALIX DECK RESTORATION GUIDE
Most deck failures start with the wrong preparation, the wrong product or maintenance left too late. Check what is on your timber, then follow the right restoration guide.
PREPARE • PROTECT • MAINTAIN
WHY DECK FINISHES FAIL EARLY
A lasting result depends on getting all three decisions right.
A cleaner cannot remove an old oil, stain, sealer or coating. Residue left behind prevents the new finish bonding evenly.
The preparation and finish must suit the timber’s history, condition, exposure and the look you want to maintain.
Inspect, wash and recoat while protection is still sound—before the timber greys and the finish breaks down.
STEP 1 — CHECK YOUR DECK
Condition alone can mislead. The deck’s treatment history determines whether you deep clean or strip before rejuvenating.
Choose this only when the timber has never been oiled, stained, sealed or coated.
Choose this whenever a finish has been applied before—even when it now looks completely worn away.
PREPARE • PROTECT • MAINTAIN
Preparation includes three essential stages before the protective finish goes on. Maintenance then keeps that protection working instead of waiting for complete failure.
Use Deep Cleaner only on never-finished timber. Use Timber Stripper whenever oil, stain, sealer or coating has been applied before.
Neutralise the treated surface, brighten the timber and restore more natural colour before drying.
Let the timber dry completely, smooth raised fibres and prepare the surface profile for the chosen finish.
Choose either a film-forming Haymes system or a penetrating CUTEK oil system and apply it exactly as directed.
Do not wait for bare, grey timber. Inspect regularly, wash when dirty and recoat at the first signs of fading or reduced water repellency.
Read online
Printable customer guide
Download the complete customer guide with equipment, dwell times, sanding guidance, finish application and troubleshooting.
Download Deep Clean PDFPrintable customer guide
Download the complete customer guide with equipment, dwell times, repeat-strip guidance, sanding, finish application and troubleshooting.
Download Strip PDFShared final preparation
Do not coat damp timber. Drying varies with shade, airflow, temperature and timber condition.
Water-based finishes: generally 40–60 grit. Penetrating oils: generally 80–120 grit, depending on timber.
Light sand the whole deck evenly, including edges, then remove all dust before coating.
Choose the appearance
| System | Appearance | Application summary | Maintenance guide |
|---|---|---|---|
| Haymes Dexpress Film-forming water-based finish | Polished, low-sheen coated appearance. | 1 coat UVEX Primer + 2 coats Dexpress, or 3 coats Dexpress. Apply Dexpress with a large decking brush. | Clean and recoat approximately every 12–18 months, depending on exposure and wear. |
| CUTEK CD50 Extreme Penetrating oil finish | Natural penetrating-oil appearance. Use a colour tone for improved colour retention or clear for natural greying. | Apply 2 thin coats. Very dry timber may require a third. Wipe visible excess oil before it becomes tacky. | Clean and recoat approximately every 6–12 months, or as required by exposure and wear. |
Always follow the current product label and Safety Data Sheet for conditions, coverage, PPE, recoat windows, cure times and disposal requirements.
Application sequence
Both systems need clean, dry and evenly prepared timber. Use the sequence below as a practical summary, then follow the current product label for final conditions, coverage and recoat requirements.
Fix problems before they become failures
Most deck-restoration problems come from drying chemicals, incomplete preparation, coating damp timber or losing the wet edge during application.
Reapply enough product to keep the area wet. Do not continue pressure washing until the contamination or coating has softened.
Remove standing water where required, reapply the correct preparation product, allow the full dwell time and wash the affected area again.
Allow the deck to dry completely, then light sand the full surface using the grit recommended for your timber and finish system.
Maintain a consistent wet edge and complete full board lengths. Do not stop mid-board or leave heavy pools.
Oil-soaked rags can self-heat and combust. Follow the CUTEK label and local disposal requirements. Never leave used rags crumpled in a pile or sealed in an unsafe container.
Keep the complete instructions
Each printable guide includes equipment, dwell times, sanding guidance, finish application, troubleshooting and maintenance planning.
Use this guide only when the timber has never been oiled, stained, sealed or coated.
Use this guide whenever a finish has been applied before, even if the timber now looks bare.
Before you start
Reader offer
Use the code below at checkout. Maximum discount $50.
Offer applies to eligible orders over $200 and is subject to the promotion settings shown at checkout.