REAL RESTORATION RESULTS. THE RIGHT PREPARATION.
Peeling, grey or tired deck? Restore it the right way.
Before you recoat or replace your deck, find out what preparation your timber needs. Answer four quick questions to find a suitable restoration kit, what’s included and the price.
Find My Restoration KitFour quick questions. No sign-up. Practical guidance from real deck restoration work.
Not sure what was previously used? Send us a few deck photos.

Step 1 — Check the condition
Has your deck ever been oiled or coated?
Even if the old finish has almost worn away, choose Previously Oiled or Coated. Never finished the timber? Choose New, Bare or Weathered. Unsure? Send us photos instead of guessing.

Step 2 — Choose the package
Do you need preparation products or the complete restoration kit?
Already have a suitable finish? Choose Preparation Only. Need everything from preparation through to the final coating? Choose the Complete System.
Step 3 — Match the quantity
How many square metres of decking need restoring?
Measure the length by the width, include steps and any other timber you’re doing, then choose the option that covers the total area.
Deck larger than 90m²?
Send us the size and a few photos and we’ll help work out the quantities. Send My Deck Details
Step 4 — Choose your preferred result
What look and maintenance style suits your deck?
Choose the look and ongoing upkeep you prefer. Tap each option to compare the protection system and maintenance before deciding.
Maintenance depends on sun, weather, foot traffic, timber condition and preparation. Check the condition of the deck rather than relying only on the calendar.

BASED ON YOUR ANSWERS
Your matched deck restoration system
Matched Deck Restoration Kit
Your recommended kit scope appears here.
Your kit goes to the regular SEALIX cart. Delivery and availability are confirmed at checkout.
Email this recommendation to myself →What’s Included
- Wood Finish Stripper or Wood Deep Cleaner
- Wood Rejuvenator
- Your selected oil or coating
- Quantities for the selected area
- Step-by-step restoration guide
- Help from the SEALIX team





Tools, pressure washer and PPE are not included. Coverage can vary with the timber condition, existing coating build-up and product absorption.
WHY PREP COMES FIRST
The new finish is only as good as the timber underneath
If old coating, grime or weathered fibres are left behind, the next finish can wear unevenly or fail early.
The job starts by working out what’s already on the deck, then cleaning or stripping it properly.
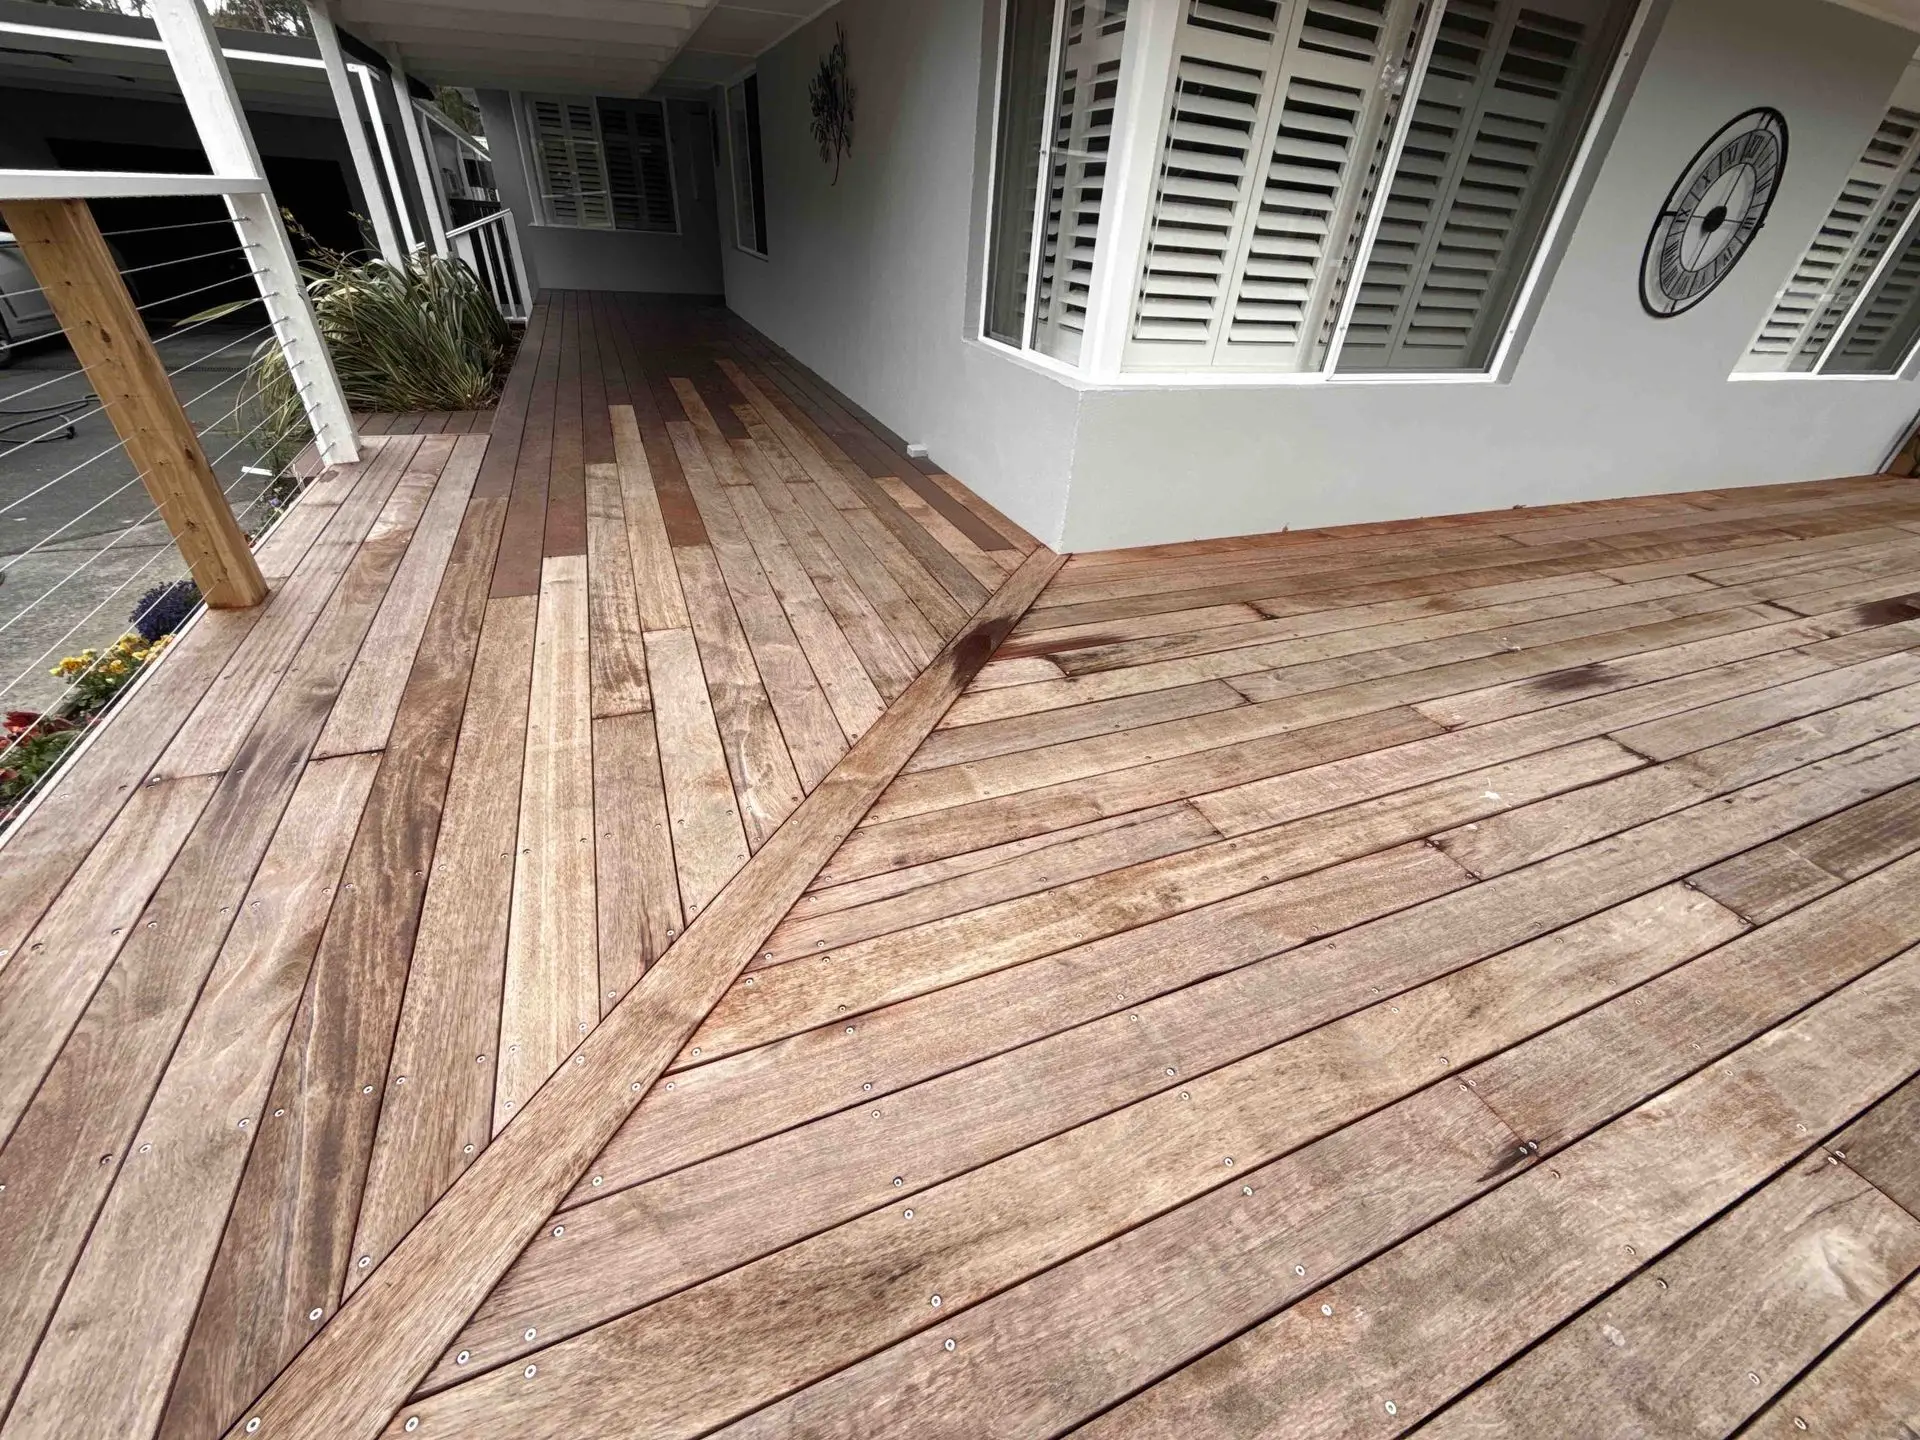 Stage 1
Before
Work out what’s on the timber and repair any loose boards or fixings before starting.
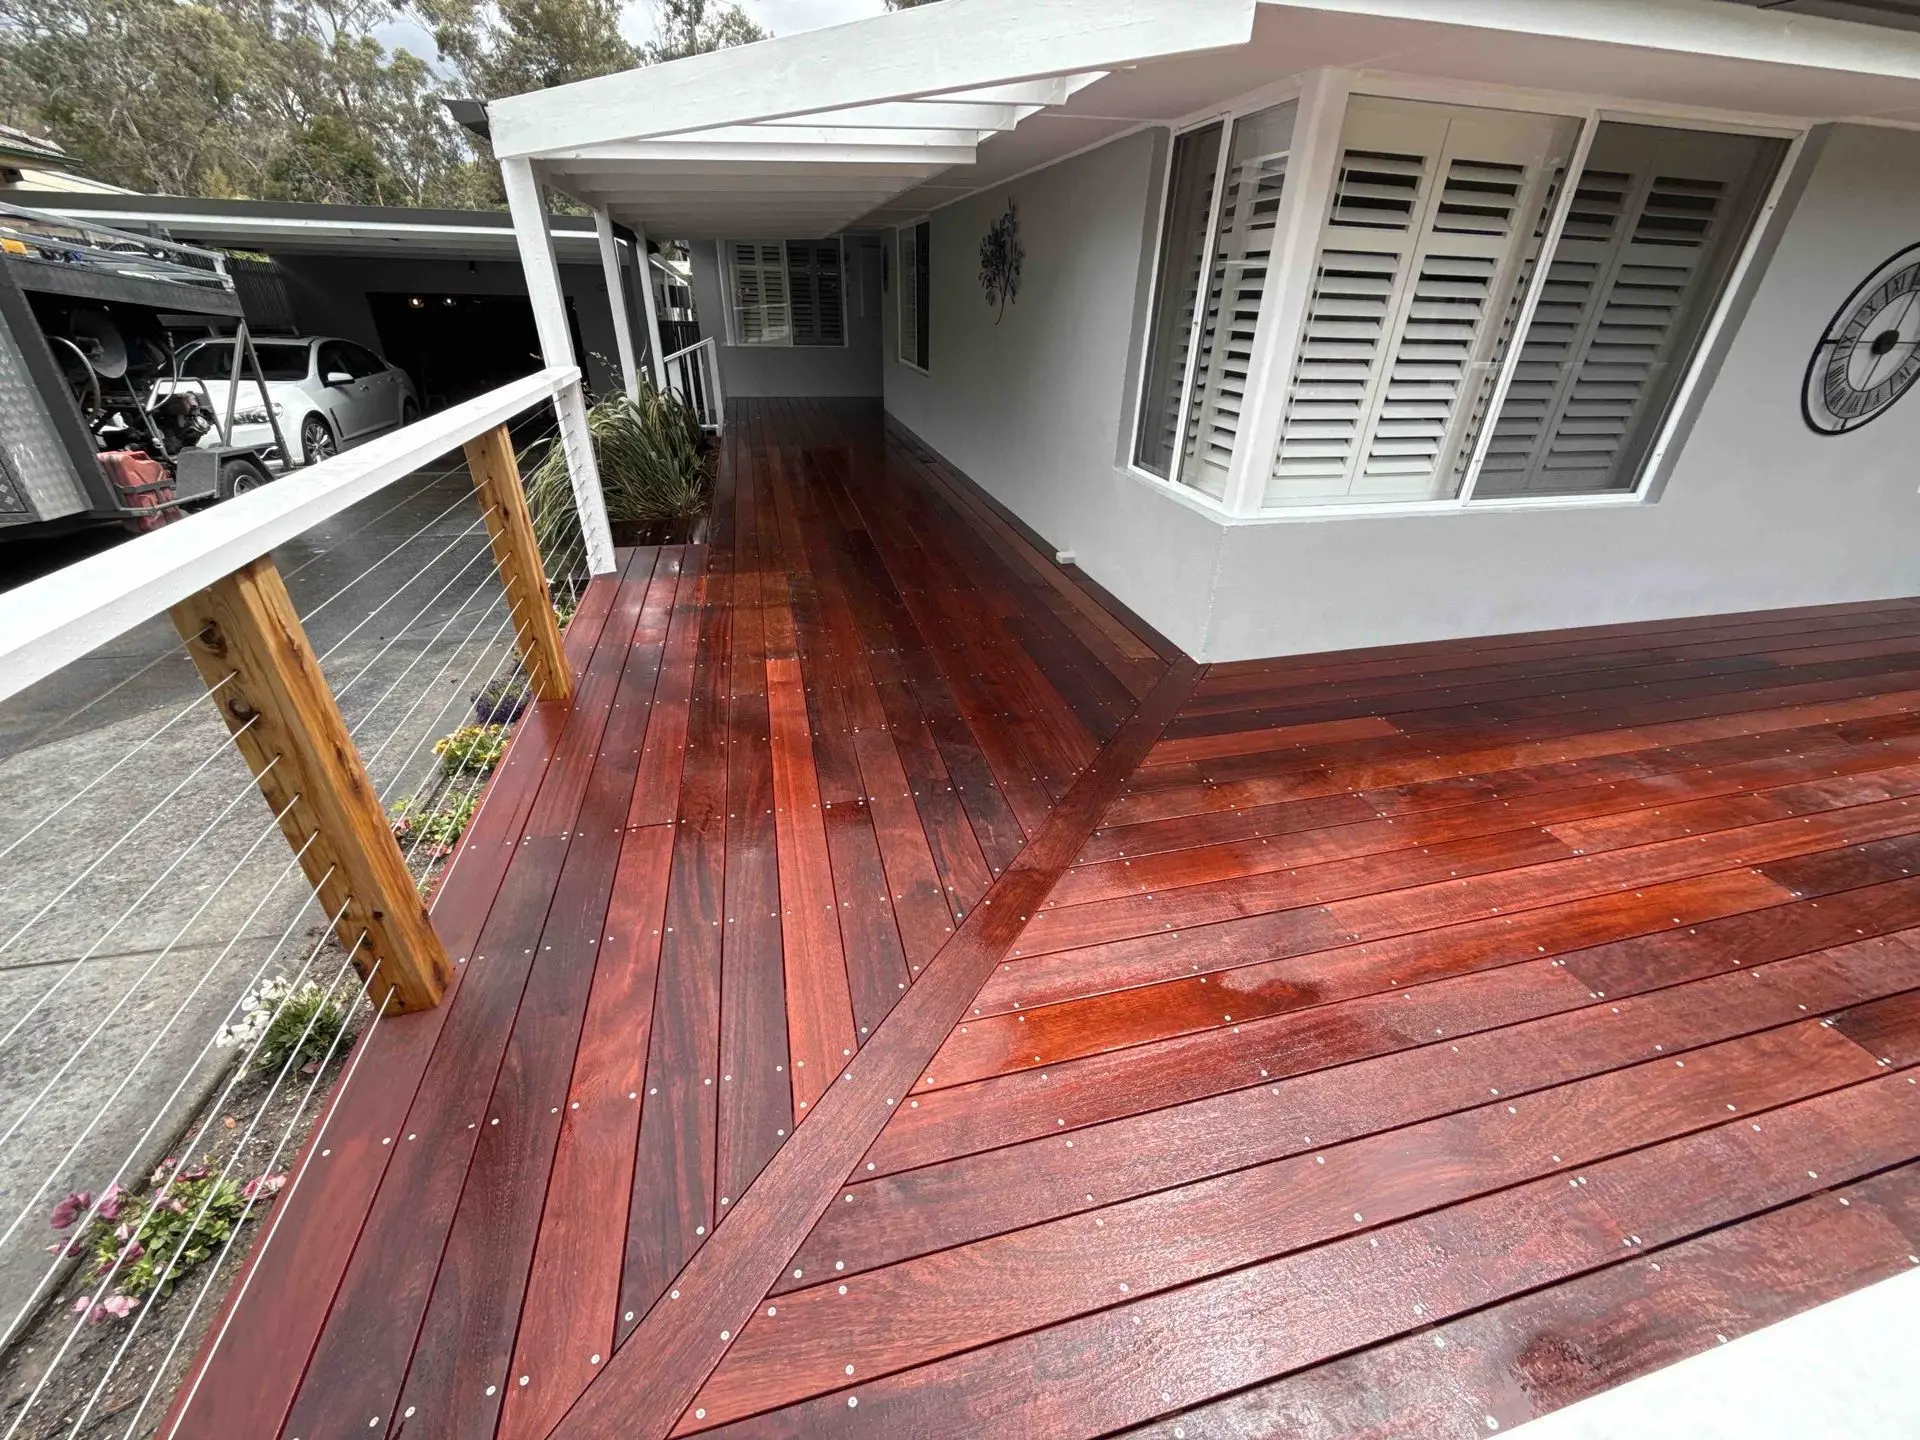 Stage 2
Properly Prepared
Deep clean timber that has never been finished. Strip timber that has been oiled or coated before.
Rejuvenate the timber, let it dry completely and give it a light finishing sand.
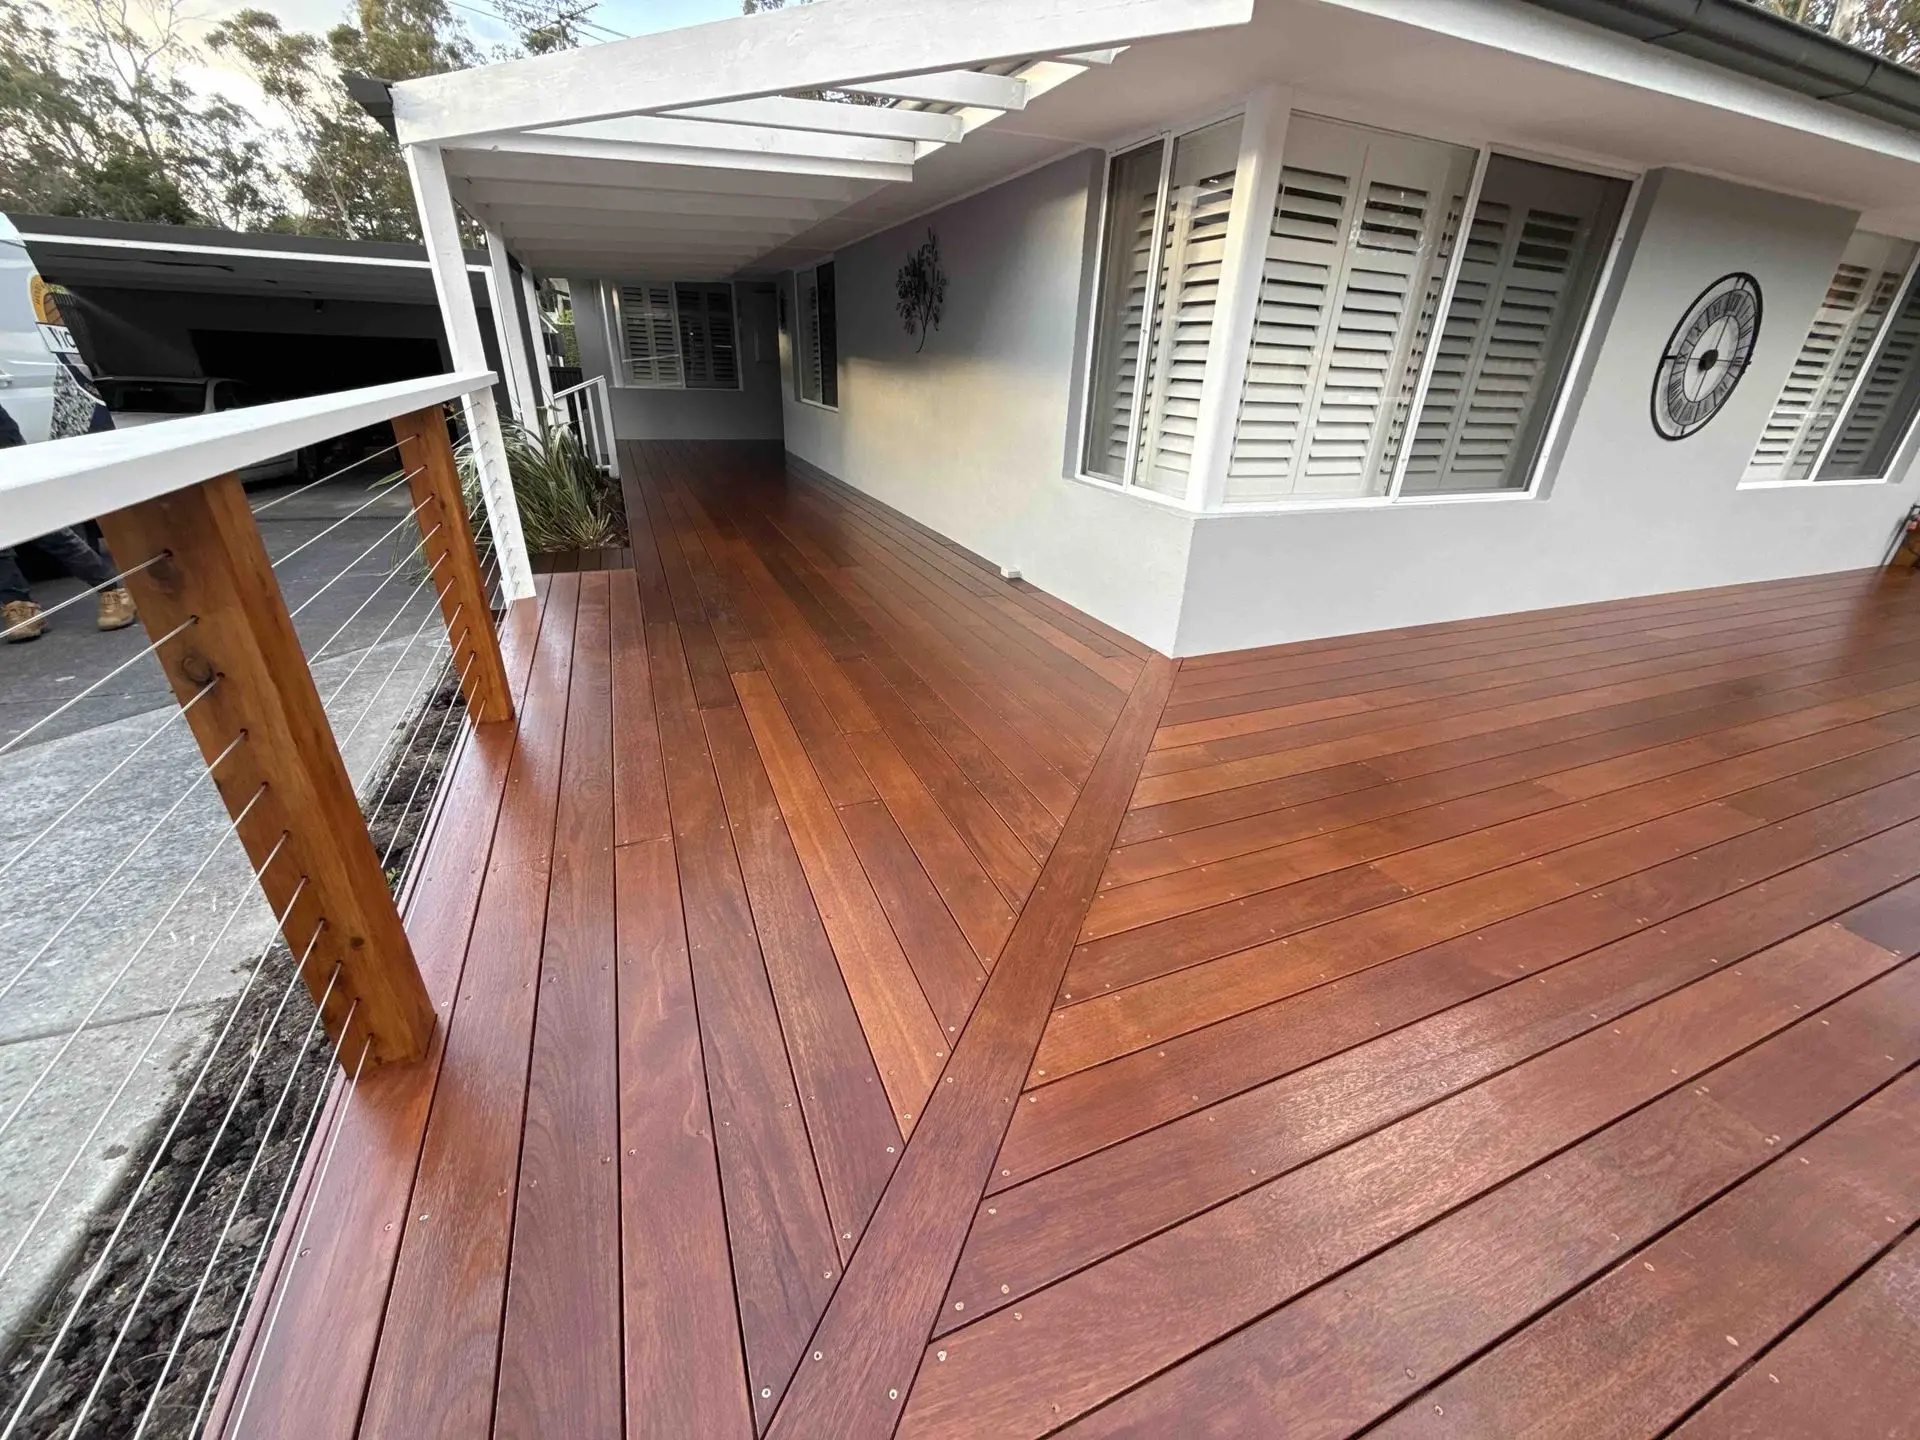 Stage 3
Finished and Protected
Apply the selected oil or coating to clean, dry timber and follow the correct coat and drying instructions.
Maintain it before the finish is completely worn away.

13+ YEARS OF DECK RESTORATION
Practical advice from real deck restoration work
SEALIX was built after years of seeing good products fail because the timber had been prepared the wrong way—or the wrong finish had been used.
The advice on this page comes from real deck restoration work, not a generic list of products.
Constantin Bordeianu
Founder, SEALIX & Viccon Coatings
FREE PHOTO ASSESSMENT
Still not sure what’s on the deck?
Send us one full-deck photo, one close-up and a photo of the worst area.
We’ll have a look and help confirm whether the timber needs deep cleaning or stripping before you order.
We’ll reply within 24 hours. You’ll also receive an email confirming that your photos have reached us.
REAL QUESTIONS. CLEAR ANSWERS.
A few things to know before you start
How do I know which deck condition to choose?
Choose New, Bare or Weathered only when the timber has never had oil, stain, sealer or coating on it. If the deck has ever been finished—even if it now looks completely worn away—choose Previously Oiled or Coated. Old product can remain in the timber and affect the next finish. If you’re unsure, send us a few photos before ordering.
Should I choose preparation only or the complete restoration kit?
Choose Get the Timber Ready if you already have the final oil or coating and only need the preparation products. Choose Restore the Whole Deck if you need both the preparation products and the final oil or coating.
Do I need to sand the old coating off?
No. The cleaner or stripper does the heavy removal work. Once the timber is clean, rejuvenated and completely dry, give the full surface a light finishing sand. This smooths the timber fibres and gets the surface ready for the new finish.
What’s the difference between the three finish options?
CUTEK CD50 Extreme is a penetrating oil applied in two coats. It gives the timber a natural matte appearance without forming a surface coating. Haymes Dexpress is a water-based stain applied in three coats. It creates a more even, low-sheen coated finish. UVEX + Dexpress uses one penetrating primer coat followed by two coats of Dexpress. Choose it when extra adhesion and an even low-sheen finish are the priorities.
Will the finish change the colour of the timber?
Any finish can deepen or change the timber colour, so always complete a test area first. Clear CUTEK allows the timber to naturally silver over time. Adding a Colourtone helps retain or adjust the colour. Dexpress gives the timber a more even stained appearance. The final colour will vary with the timber species and condition.
How long should I allow for the restoration?
Plan it as a multi-day job. Cleaning or stripping, rejuvenating, drying, light sanding and finishing are separate stages. Drying time will change with temperature, shade and humidity. Never apply the finish to damp timber, during rain, in strong direct heat or when dew is expected.
What if I’m still unsure before ordering?
Send us one full-deck photo, one close-up and a photo of the worst area. We’ll have a look and help confirm how the timber should be prepared before you order.
READY WHEN YOU ARE
Start with the deck as it is today
Answer four quick questions about your deck and we’ll match the products and quantities to the job.